When I taught all subjects I focused on science and math interactive notebooks. For some reason in my mind these subjects naturally seemed to fit into notebooks. For the last two years I have only taught reading and writing. This gave me the opportunity to work on reading notebooks. This is especially important now that we are writing so many reading responses in 1st grade. It turns out that the kids are really good at adding to notebooks when you set clear procedures, rules and rubrics. Below you will find directions for creating reading notebooks and implementing them.
Creating Notebooks
1. Start with a spiral notebook. I choose spiral notebooks because parents can get them super cheap at the start of the school year. I stock up on extras as well.
2. Have the students glue a cover to the notebook with stick glue. They won't need a lot because we will put contact paper on it. If you are using copy paper, you will need to cut it down a bit first. Just trim the edges.
3. The students get to decorate the cover now. They will give it their own personal touch. This step is really important because it is this point where they buy into the notebook. They take responsibility for it.
4. After they decorate the cover, we discuss rules for reading notebooks. I have them printed up and we put them inside the front cover.
5. After we discuss the rules, we talk about how they will be assessed on their notebook. I also have this printed up so that they can check their work. We put this inside of the back cover.
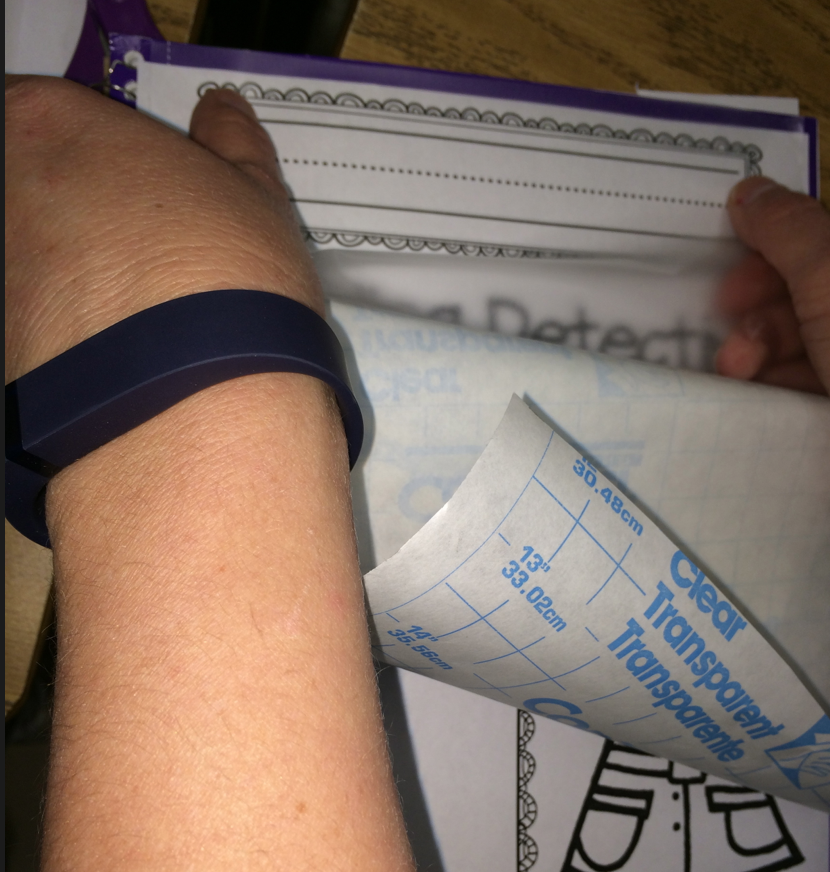
5. The final 2 steps are for the teacher or a parent volunteer. It can take a couple of hours depending on the amount of students that you have. I cut down contact paper to put over the front cover. I'm pretty good at eyeballing it now. You may want to measure and cut it about 1/4" shorter than the sides. Then you get to peel and stick the cover.

6. The final step is what makes it super cute and useful. I place tape over the spirals so that they don't get stuck together in our storage caddies. We store all of our materials by groups on bookshelves. I used to use duct tape which is super cute, but it can be expensive. It would take 2 rolls for 36 students. I have recently discovered that Target keeps the Dollar Spot stocked with decorative tape that works great! It only took 2 rolls to complete 36 notebooks. I like to differentiate between boys and girls when possible to make it quicker for them to grab the notebooks out of the tubs.
Tips For Using The Notebooks
The main time that I use reading notebooks in the classroom is during silent reading or read-to-self time. The students have 30 minutes for the process. The first 20 minutes are for reading. Prior to reading I give them a purpose for reading. The purpose comes from common core standards. It usually reinforces the standard in shared reading. Sometimes it is to help on something that we were struggling in. I created a template for them to use with every standard. One example might be to find your informational book's topic and 5 supporting details.
During the 20 minutes of reading the students are coding with post-its. Any time they see a place that can help them with the purpose of the day they stick it and code. If we use the example of topic and details from above, they will place a post it by what they believe is the topic and one by each key detail they find or up to 5 details.
The last 10 minutes of reading time is used for responding to what they read. They will use their post-its to guide them to the book where they will write about the topic and 5 key details.
I hate to waste post-its!!! We recycle them and place them in our notebooks to use another day. When they don't stick or are yucky, we throw them away.
I hope that this helps you to implement reading notebooks in your classroom with success!!! Leave a comment if you have any questions.


