Learning Lessons with Mrs. Labrasciano Home Shop Instagram Pinterest Email Image Map

Vinyl Cutting Machines For the Classroom


Click here to learn about using vinyl cutters such as Cricut and Silhouette in your classroom.  The information can be used in preschool, grade school, middle school and highschool.  You'll learn what vinyl and tools will be helpful for your machine.

Recently I decided to take the plunge into the vinyl cutting world.  The first choice I had to make was between a Cricut and Silhouette.  It's important for me to tell you that I am not an affiliate of Cricut or Silhouette.  No one sent me free materials to try out.  We had to make the decision based on our family dynamics and our budget.  I have used the Silhouette with a couple of friends and owned the old original Cricut that took only cartridges myself.  To be honest, I think you would be happy with either if you are crafty and somewhat technologically inclined.  I have a ton of friends who LOVE their Silhouette machines and a couple who gave up on it because they couldn't figure it out.  Ultimately I decided on the Cricut because my friend who is the queen of Silhouette told me she thought my kids would find the Cricut more user friendly.  She was right, it is very easy to use and the new Design Space on Cricut is amazingly simple and creates wonderful projects (even with young users)!! Once I had the Cricut I found that it does two things that Silhouette doesn't.  The Cricut can cut chipboard and engrave metal.  I love that I can whip up a dog or cat tag for our furry family members.  If I were choosing again, I would go with the best deal that I could find because I think you would be happy either way.  My family purchased the 2nd Cricut which is the Cricut Explore one.  This model was quite affordable and my only complaint with the machine would be that it is a bit slower than the newer models.  This hasn't really affected me, but it's good information to have if you aren't a patient person.  My largest complaint with Cricut comes from their customer service.  When we ordered our machine we intended to get the Cricut Explore Air. It is wireless and quicker than the One.  Both the One and Air were on sale for a great price.  For some reason, either my error or Cricuts we ended up with the One being delivered.  I spoke to customer service several times and had two issues:  throughout the process they didn't understand me (language barriers) and told me I would have to pay for shipping going back and forth again.  In the age of hassle free returns this was SUPER annoying!!!!!! My recommendation would be to purchase the machine from Amazon or another site that offers great customer service and hassle free returns.  (I'm not an Amazon affiliate either.)

My ultimate piece of advice if you want to get a vinyl cutter is to think about how much money they could save you on gifts.  We agreed as a family to give gifts made by the Cricut for the first year.  In the very first month we saved more on gifts than we spent on the machine.

The second most asked question that I get on social media is what supplies do you need.  It depends on what you want to do with it. Here are some things I have learned: 

1.  Look at the vinyl description to choose what grade you need.  There are three different grades of vinyl:  heat transfer, permanent and removable.  Heat transfer can be used on cloth material, outdoor items or creations that you want to be dishwasher safe.  This is the most expensive vinyl.  Permanent vinyl can be used outside for up to 5 years (depending on maker) and hand-washed.  Removable  can be easily removed from items like phone cases or things that won't be used a lot and also is used for stencils.  I bought variety packs of each grade off of Amazon to get started.  They offer a great variety and are easy to move in and out of the machine as compared to rolls when you are getting started.  You can see these packs on my Instagram account. Once you have the hang of it, rolls are much cheaper on EBay.  I buy the huge commercial rolls and it makes each project very cost effective.  I can't give you a specific one because they constantly change.

2.  You will also need transfer tape.  Again I buy a huge roll on Ebay.  You can see me using one here on Instagram.

3.  You will need a weeder and scraper.  I bought a Cricut tool kit.  You can also buy a dental picker and baking scraper.  You can see me using a scraper here.

4.  Choose a chunky font for cutting and weeding.  You can search "good fonts for Cricut" and a large list will come up. The chunkier and straighter the font, the easier the project will be.  I have listed the fonts I remember under each picture.

5.  Fonts and designs are all free for personal use.  You may not recreate any of my designs or anyone else's designs to sell or without paying for a font.  Even though I don't sell my designs,  they are all copyrighted on the day I publish them.  I want teachers to enjoy making them and using them personally free of charge.  Please contact me by email for commercial use.

Some more advice that  I would give is to be patient with yourself.  Practice on scrap wood or items that you wont' be upset at the outcome.  Do not try cups first like I did.  Curved surfaces are a bit trickier.  I'm going to give you several examples of my projects below.  I've had the machine less than three months so I'm still a new user too.  Be kind with your comments please:)


Font:  DJB Polky Dots
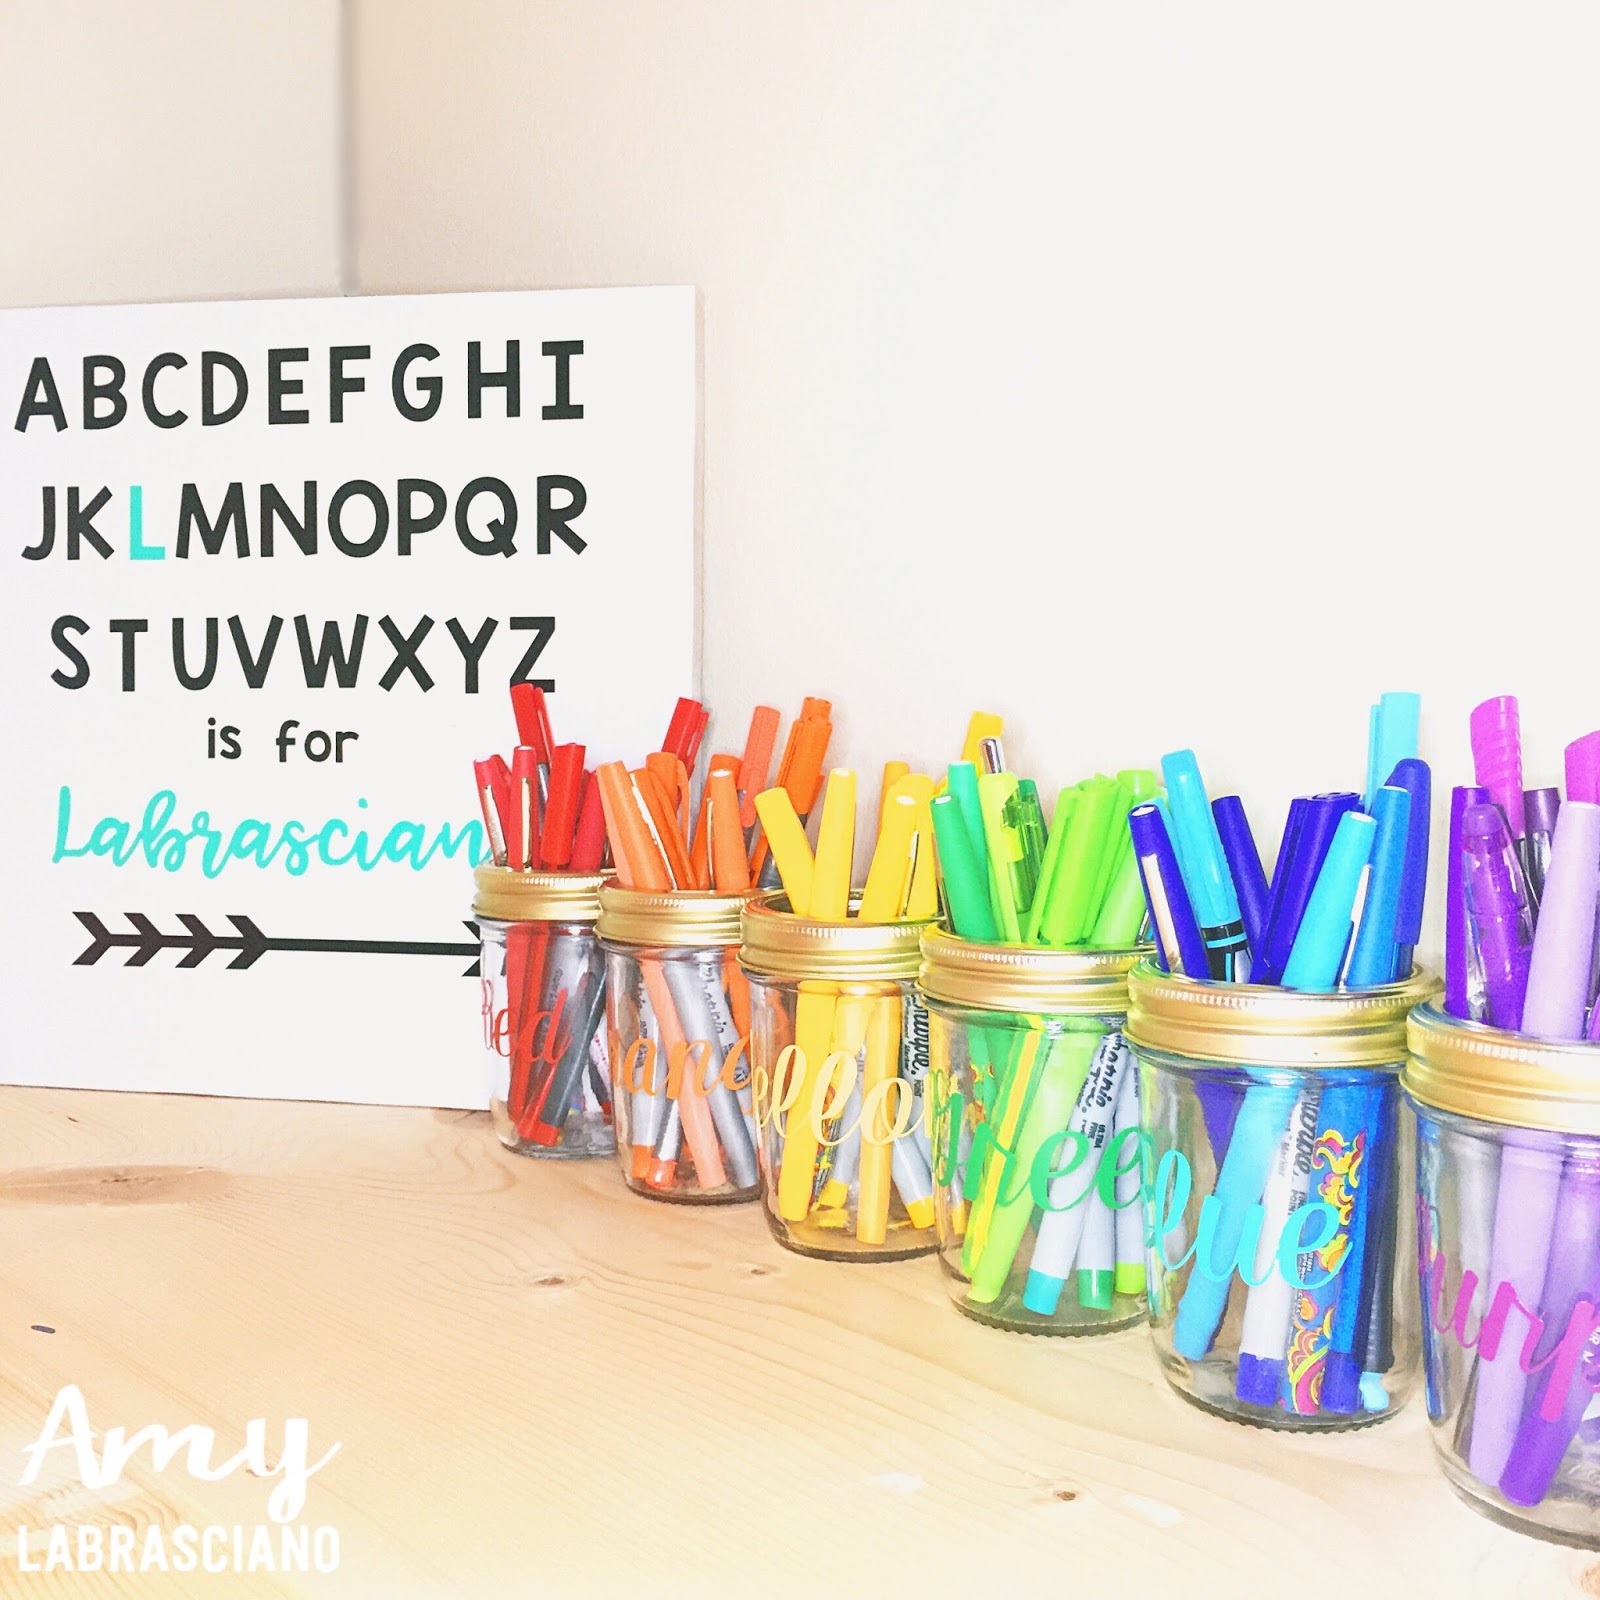
Font for Labrasciano:  Jenthill
Font for alphabet:  default font on Cricut
Font for jars:  KG Manhattan Script


Label storage boxes for workstations.

Font:Janda Silly Monkey


Font: KG Manhattan Script

Font:  Jenthill

Font:  Jenthill


Font:  Jenthill

Font:  Jenthill


Font:  Janda Silly Monkey


Below you will find more projects that I've made with my Cricut either for my house, gifts or classroom.  Follow me on Instagram for new projects that I make and all things education.

Font:  Jenthill

Font:  KG Red Hands

This font is not good for a cutter.  Take my word on it.

Monograms created on Monogram App and imported


Font: Starfish


Font:  Athletic
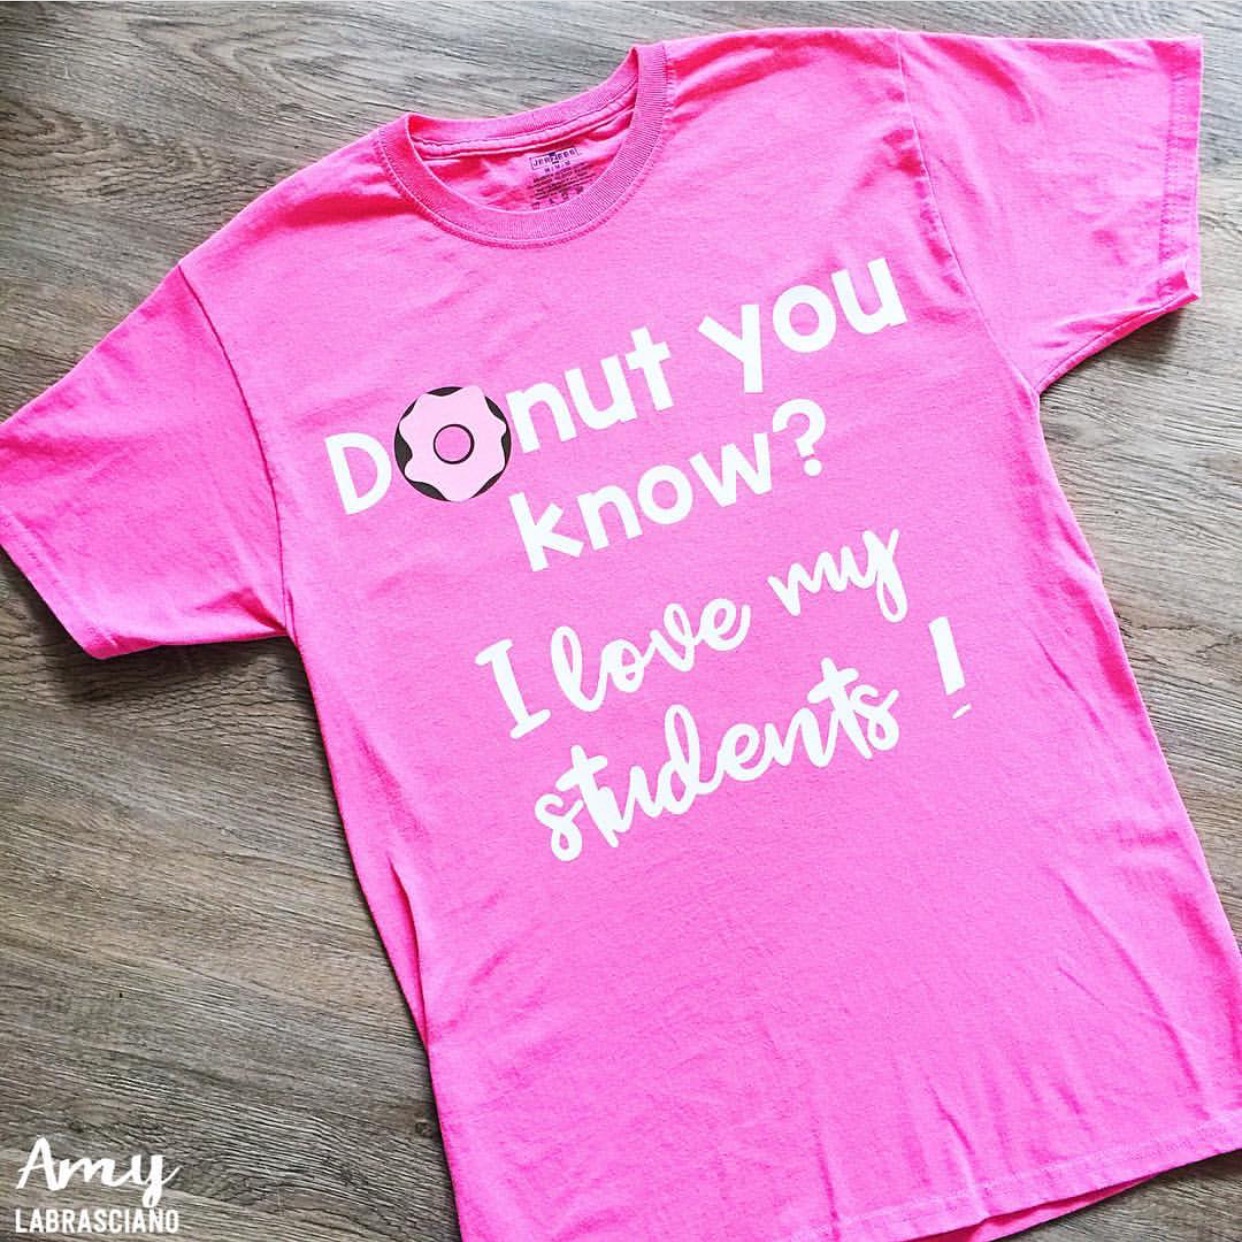


Font:  Starfish

Font:  Bakery


Salt Dough Fossils for a Dinosaur Unit


Have you considered adding hands-on engagement to learning vocabulary in reading? Consider making salt dough fossils when learning about dinosaurs or reading about paleontologists.  Find the recipe below.

Salt Dough Recipe

Materials
  • 2 cups all-purpose flour
  • 1 cup fine salt
  • ½ to ¾ cup water
  • Spoons or spatulas
  • Measuring cups
  • Mixing container
Directions

Knead all of the ingredients together by hand and roll into individual balls for each student.

Students should press the balls down on an inexpensive paper plate.  Once the balls are flat and about 1/4" thick they should press a dinosaur down into the dough.  Allow the dough to dry for 5-7 days.  For your convenience, just cut the fossils out with the plate on the back.  Students can then pull the dinosaur off with their fingers, tweezers, popsicle stick or a toothpick.

Enjoy teaching your students what something means through hands-on fun!

For instructions on making dinosaur eggs, check out my Instagram post by clicking on the picture below:


Classroom Conversations

Classroom Conversations


Some children are natural born conversationalists.  You know these children.  You usually have to read "Lacey Walker Non Stop Talker" to them.  Some children are not talkers.  They would prefer to sit to the side quietly and listen. These children pose a special consideration when it comes to having classroom conversations.  It is very important for all of us to discuss what we are learning.  It helps us to process information.  Children gain so much information from speaking and listening to their peers.They are exposed to alternative ideas.  Maybe their peers help them to consider new options or change their thinking.  While the children are having these conversations, they could be analyzing and synthesizing information that you taught them! The wonders of higher level thinking.

Talking about our thinking
If you have ever worked with or spoken to young children, you know the key to getting everyone to talk.  Just bring up something that interests them! This is the key to starting conversations in your class. Student interest driven learning.  At the onset of every school year we send home interest surveys.  One to the parent and one to the student.  We are most interested in the student.  We want to know what interests them.  If I have a classroom full of students who love whales, I will be sure to teach a standard with a book on whales.  Our district tried to throw a wrench into my plan this year by telling us that we have to teach from the basal. Oh the horror.  At this point, we switched our focus to how the students enjoy learning.  They are quick to tell us "I love projects where we get to create posters!"  Easy enough, we will be reading that basal story and creating posters.  The kids love telling us all about their posters and discussing their peer's posters.  After every unit we have the students give us feedback on their engagement.  Did their learning environment keep them happy? This is super easy.  Simply ask, "How did you like the project today?" They are easy to please, they just ask for more projects that I can tweak to meet their learning needs (which they may not consider).  They also understand that we can't do things their way every time, but we will do our best.


Once you have their interest, you can sneak in procedures for conversations.  This is where you give students talking stems.  Teach them how to start conversations about their learning.  Guide them in accountable talk.  Most importantly, teach them how to respect their peers.  If you are listening to a conversation in my class, you will probably hear "I like your thinking and I would like to add".  You may hear, "I appreciate your thoughts, but I respectfully disagree".  This happened in my 1st grade classes in years past and it happens in my 2nd grade class presently.


If you don't already hear these conversations in your class, here's how you can get started.

1.  Plan super engaging lessons that your kids will love to talk about.

2.  Discuss why conversations are important with your class.  Make sure to relate it to why it is important to the student.

3.  Set procedures and guidelines for conversations for the students.  

4.  Give the students talking stems.  Start with basics that they can use for everything.
I agree with you because…
I disagree with you because…
I like your thinking and would like to add…

5.  Once they have the basics down you can add on to their thinking stems.  Consider giving them specific stems that go well with their learning topic.

If you need more direction or want the lessons and materials all ready for you, just click on the picture below to link to my store.


Chinese New Year


Chinese New Year is a wonderful opportunity to bring engaging learning into the classroom! There is plenty of time for you to gather materials and make your lesson plans come alive for your students.  The books shown above are wonderful books to teach your students in k-2 key details about Chinese New Year.  The Dancing Dragon pulls out to show a huge 4' long Dragon Parade.  I've yet to find another book that captivates students the way that The Dancing Dragon does when you pull out the dragon pages.


Legend states that Buddha called all of the animals together to meet on the new year.  Twelve animals showed at the meeting and Buddha named a year after each one.  People born in these years are said to have the traits of the animals from their year.


During the new year, people wear red and celebrate.  One of the celebrations is the lantern festival.  People join together with family, friends and their community to celebrate the lantern festival.  There you will find beautifully decorated lanterns lit in a night parade.


 The highlight of the lantern festival is the dragon dance.  Elaborate dances are put together with dazzling costumes.  Firecrackers are lit to celebrate the new year.


Every year we read books about Chinese New Year in my class.  After we read about the new year, we make our own red lanterns and then we put on our own parade.  One student is selected to lead the parade with a paper mask that I made.  The rest of the students line up behind the leader with their arms on the person's shoulders in front of them.  I throw my red blankets over them.  They don't care that there are snowmen on them.  We dance through the classroom stepping on bubble wrap for firecracker sounds.  This is an excellent engagement activity.  Afterwards the kids are ready to read more books closely and respond to text dependent questions.  I only wish that we could teach this way every day!

Above you will find a freebie that I'm offering you to compare the Chinese New Year to the North American New Year.  (I didn't want to leave out my geographical surrounding friends!)  If you find yourself short on time and would like more lesson suggestions and materials click on the link below.